How to Delete a Transaction in QuickBooks Desktop
- QBA Services LLC

- Oct 9, 2023
- 3 min read
Updated: Nov 1, 2023
Introduction
QuickBooks Desktop is a highly efficient accounting software, but sometimes you may need to delete a transaction due to errors, duplicates, or other issues. Deleting a transaction is a sensitive operation as it can affect your financial reports. This guide outlines the steps to delete a transaction in QuickBooks Desktop safely.
Table of Contents
1. Why Delete a Transaction?
Error Correction: Deleting transactions that were entered by mistake.
Duplication: Removing duplicate transactions to maintain accurate records.
Financial Reconciliation: To align the QuickBooks data with actual financial statements.
2. Caution Before Deleting
Backup: Always backup your QuickBooks data before deleting any transaction.
Audit Trail: Remember that deleting a transaction leaves an audit trail.
Financial Impact: Be aware of how deleting a transaction will affect your financial reports.
3. Steps to Delete a Transaction
Step 1: Locate the Transaction
Open QuickBooks and navigate to the section where the transaction is located (e.g., Banking, Customers, Vendors).
Use filters or the search function to locate the specific transaction you wish to delete.


Step 2: Open the Transaction
Once located, double-click the transaction to open its details.
Step 3: Review the Transaction
Review the transaction thoroughly to make sure it's the one you want to delete.
Step 4: Delete the Transaction
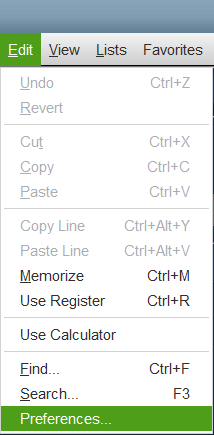
After confirming, go to the Edit menu at the top and select Delete [Transaction Type], where [Transaction Type] could be Invoice, Payment, Sales Receipt, etc.
![A screenshot showing the 'Edit' menu dropdown in QuickBooks, where the user can select 'Delete [Transaction Type]' to permanently remove a specific transaction.](https://static.wixstatic.com/media/36f1fb_86867ee1e36a43e39522ae6aa528312b~mv2.png/v1/fill/w_980,h_552,al_c,q_90,usm_0.66_1.00_0.01,enc_avif,quality_auto/36f1fb_86867ee1e36a43e39522ae6aa528312b~mv2.png)
Step 5: Confirm Deletion
A confirmation dialog box will appear. Click Yes to confirm the deletion.

4. Alternative: Voiding a Transaction
If you don't want to delete but need to nullify a transaction, you can void it instead.
To do this, open the transaction, go to Edit, and select Void [Transaction Type].
5. Troubleshooting & FAQs
Cannot Locate Transaction: Make sure to use the appropriate filters and search queries.
Missing ‘Delete’ Option: Some transactions can't be deleted if they are linked to others. In such cases, you may need to delete the linked transactions first.
Audit Implications: Deleting transactions will show up in the audit log, which may require an explanation if audited.
6. Conclusion
Deleting a transaction in QuickBooks Desktop should be approached with caution, due to its impact on your financial records. Always double-check before deleting and maintain backup files for safety. If in doubt, consult with your financial advisor or QuickBooks support for further guidance.


Comentários